Tissue Paper Kite

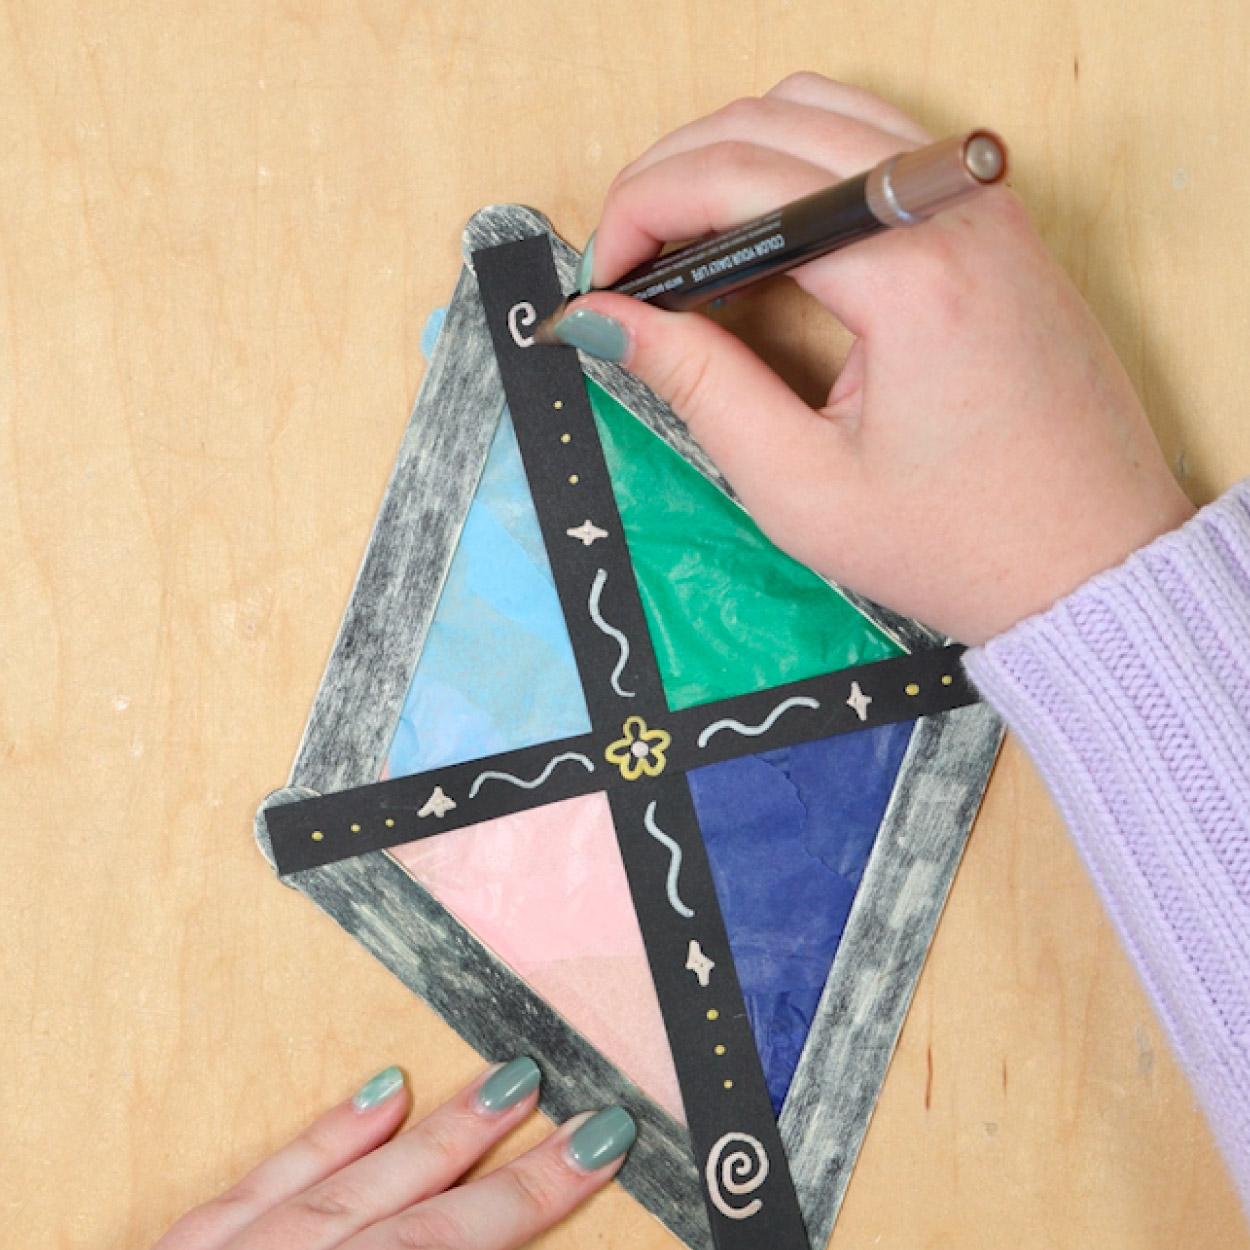
STREAM Activity: Tissue Paper Kite

Let Your Imagination Take Flight!

Activity best for children ages three and up

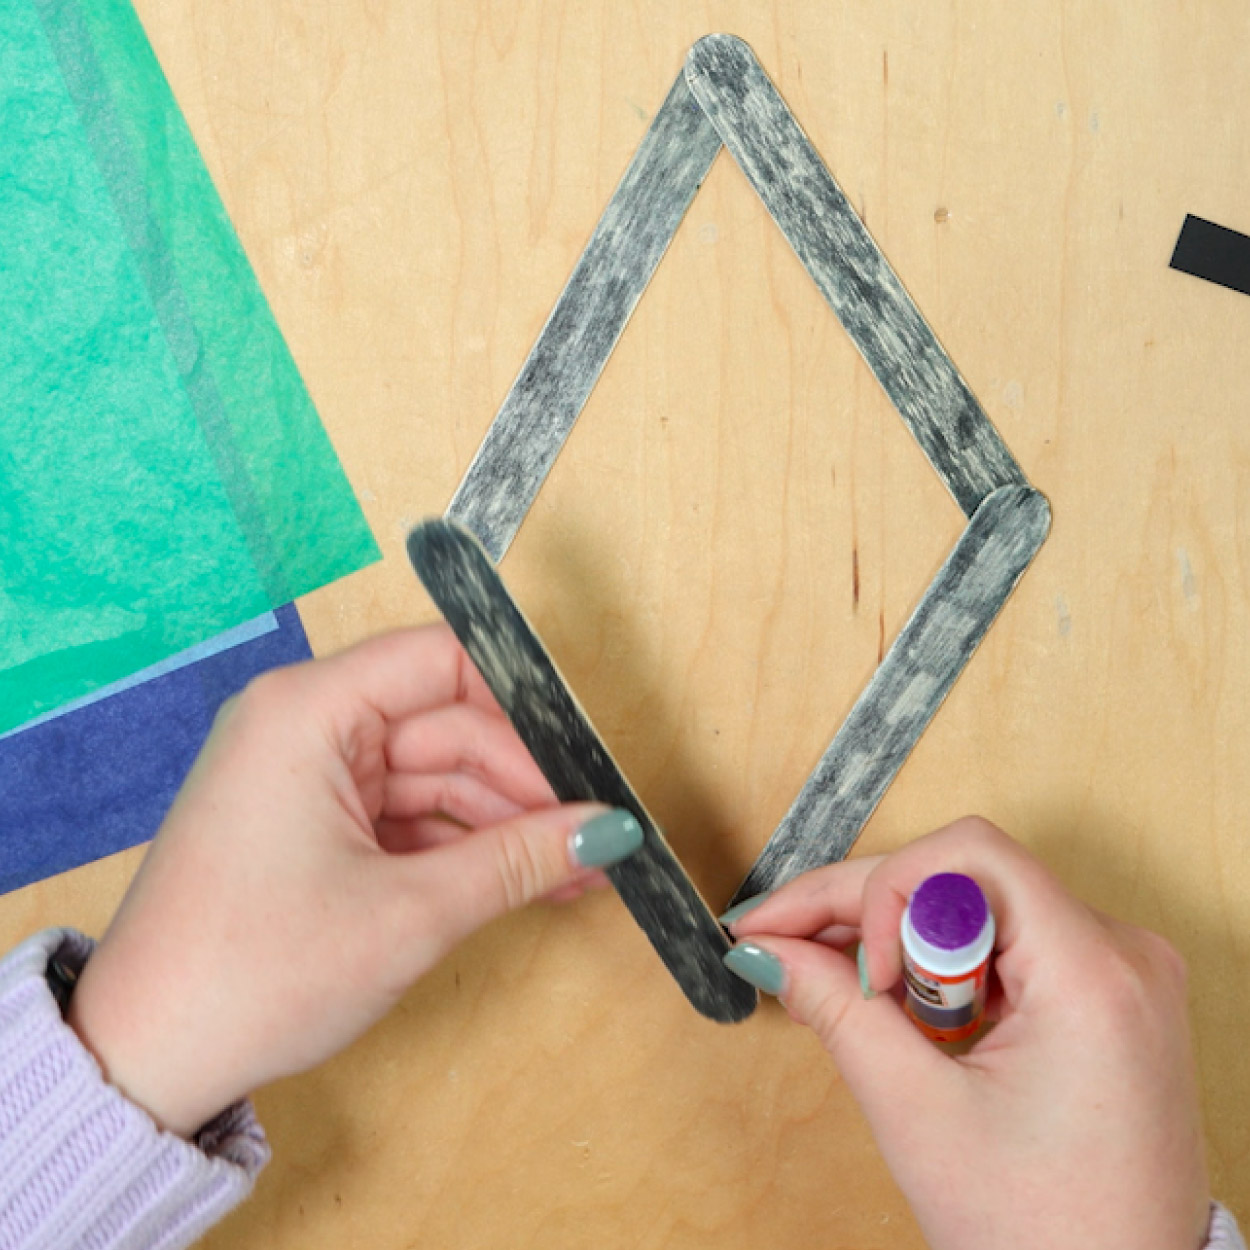
Kite month is a time to welcome spring and enjoy the simple joy of flying kites! Have you ever flown a kite before? Kites come in different colors and shapes, but a classic kite has four sides, with two slides that are the same length. That shape is called a quadrilateral!

Did you know kites have been around for over 2,500 years? That’s like if your birthday happened 2,500 times!

The first recorded use of kites was in China, and they were used for all sorts of things like sending messages, testing the wind, and for fun! Kites have a special meaning to us at the museum too! If you’ve ever seen our big white letters outside, you might notice something fun–our logo has a colorful kite tail! Just like how kite tails help a kite travel through the sky, our museum first started as a traveling program, bringing art, science, and cultures to kids.

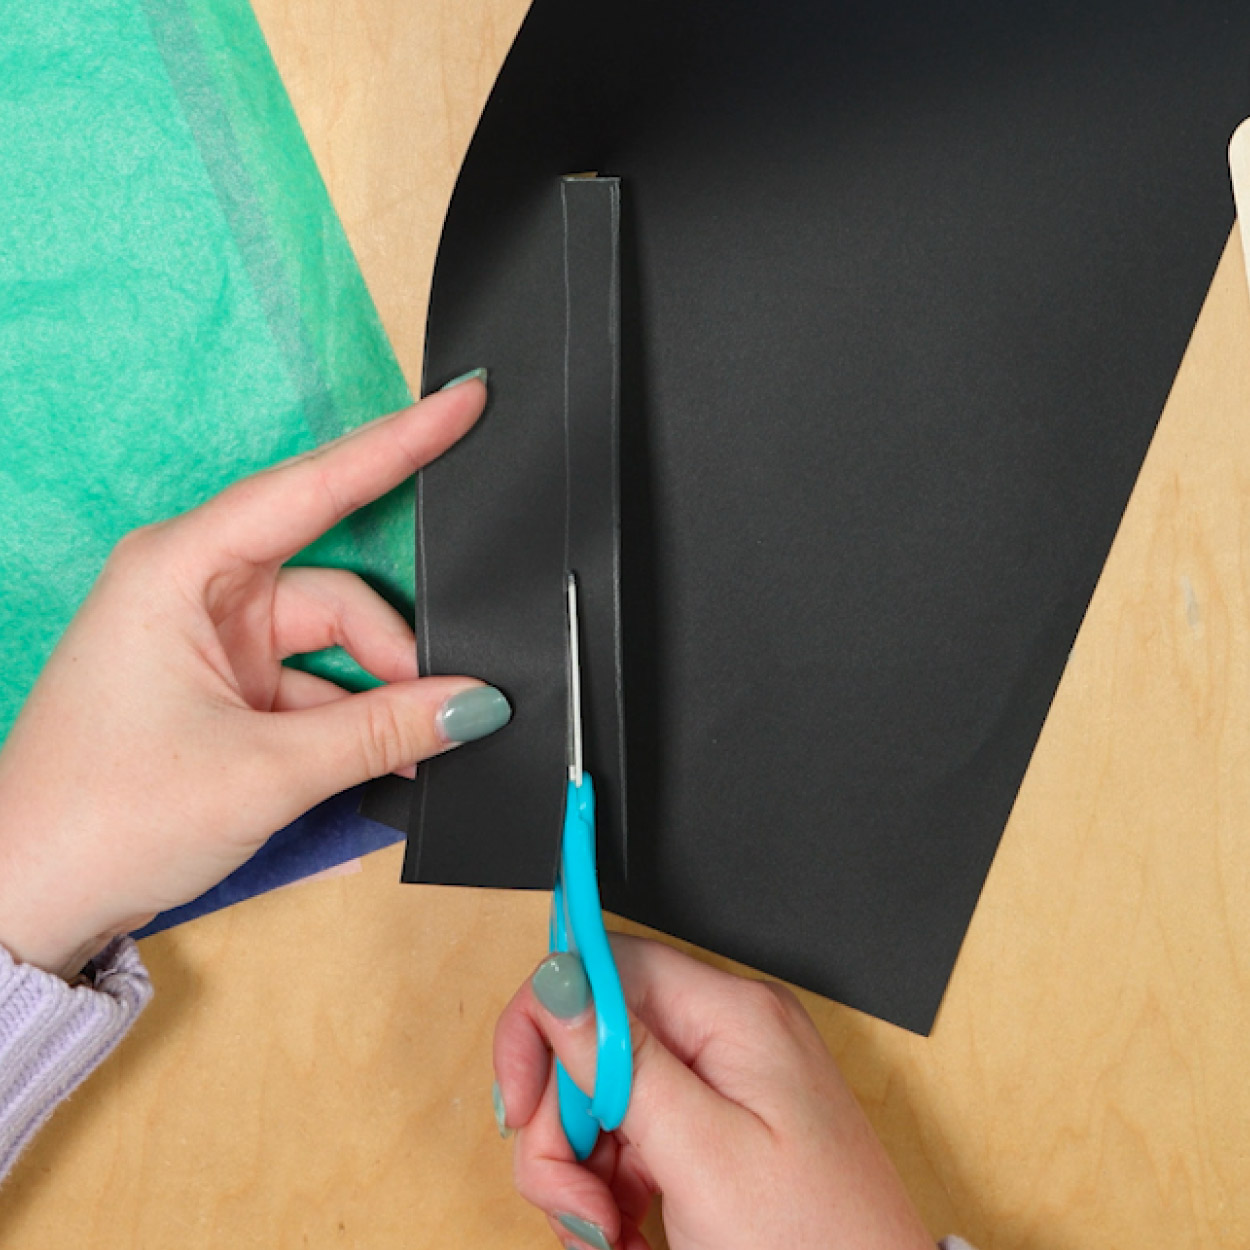
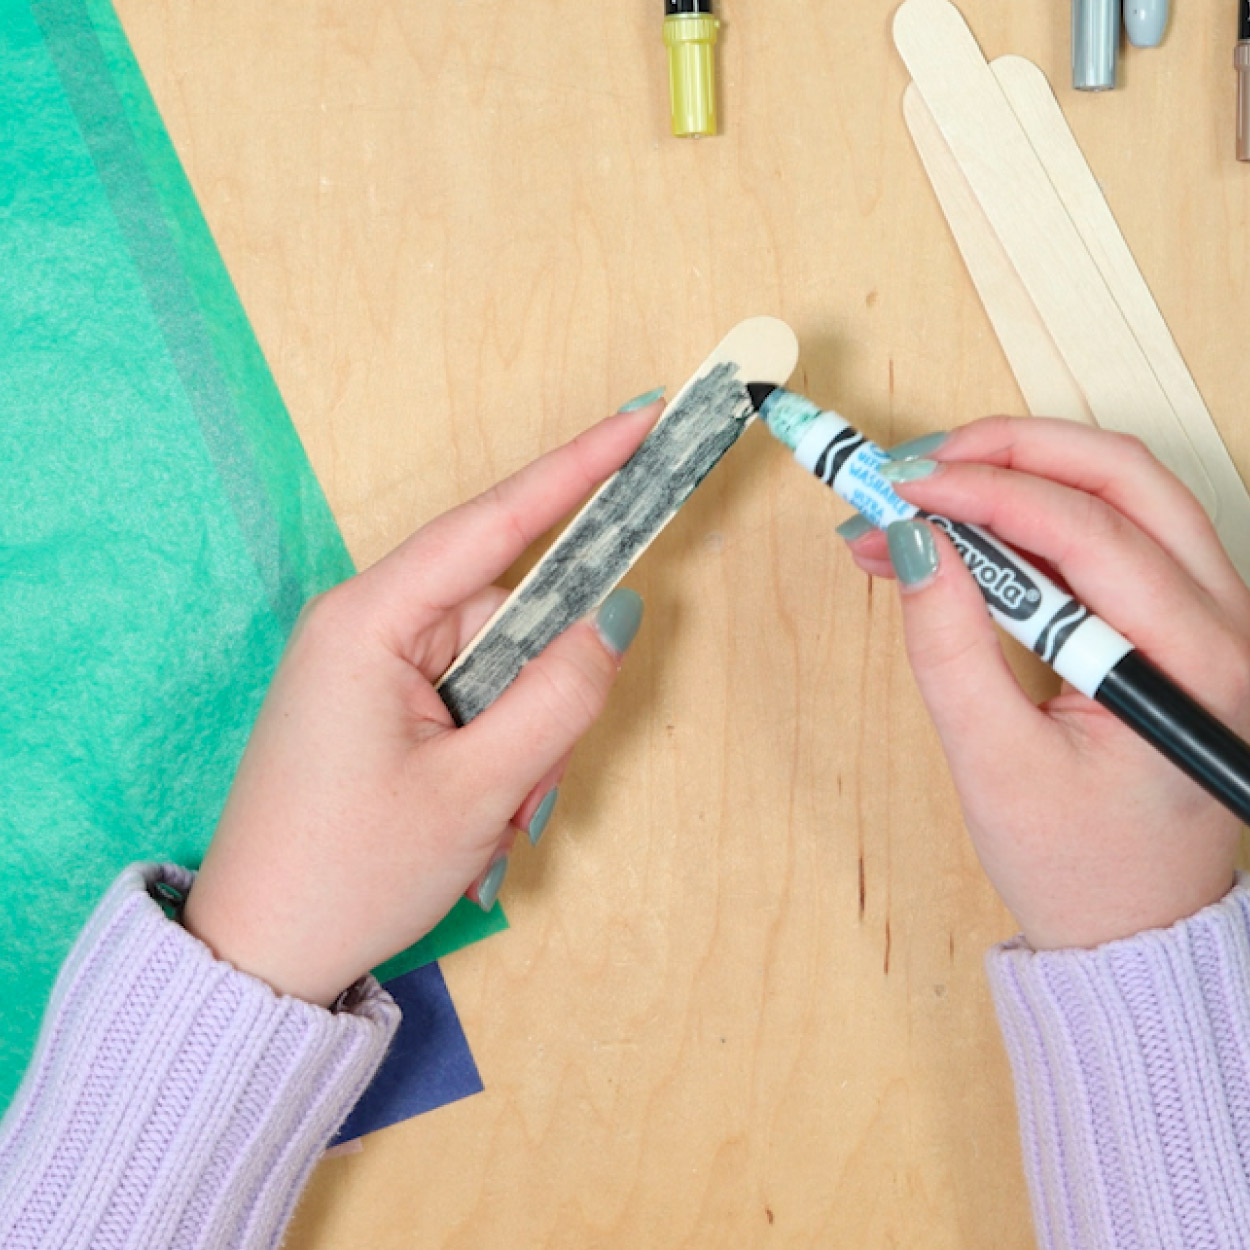
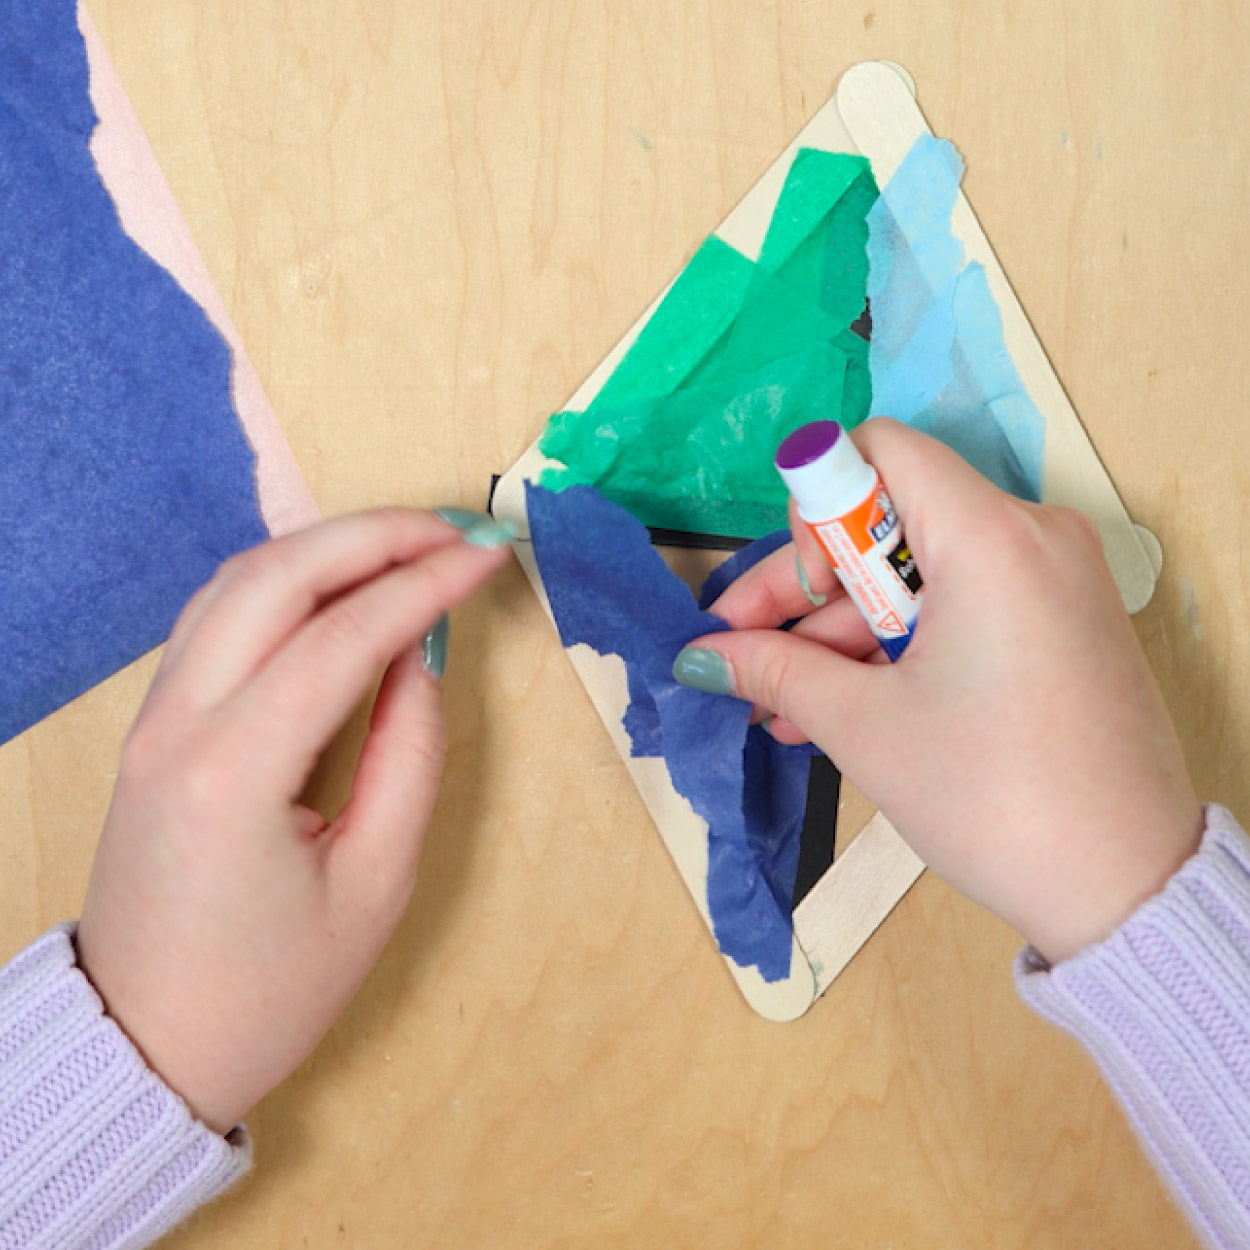
So let’s celebrate Kite Month by making our very own craft stick kite and let our imaginations soar!

VOCABULARY

  • Quadrilateral: A shape with four sides.

  • Kite tail: the part of the kite that helps it stay balanced and fly smoothly.

GUIDING QUESTION

  • What kind of weather do you think is best for kites?

  • What places do you think would be best to fly a kite?

MATERIALS

  • Craft sticks

  • Tissue paper (assortment of colors)

  • Cardstock: blue, black, and white.

  • Metallic markers

  • Black paint or black Expo markers

  • Scissors

  • Glue

DIRECTIONS

STEP 1

Cut out two long black strips as the base of your kite and glue them together in a cross shape.

Two cut out strips of paper

STEP 2

Paint or color four popsicle sticks black! If you use paint, make sure to let it dry for a couple of minutes.

Popsicle sticks colored black

STEP 3

Create a diamond shape with your popsicle sticks and glue them together. Once it dries, you can glue your cross frame on top.

Glue popsicle sticks into diamond shape.

STEP 4

Flip your kite frame over and begin tearing pieces of tissue paper. Cover the empty triangles by gluing the tissue paper on top. Once done, flip it over to see the effect of the tissue paper!

Glue down ripped tissue paper

STEP 5

Using your metallic markers, you can now decorate your kite! And with the blue cardstock, you can create a sky landscape for your kite!

Decorate your kite