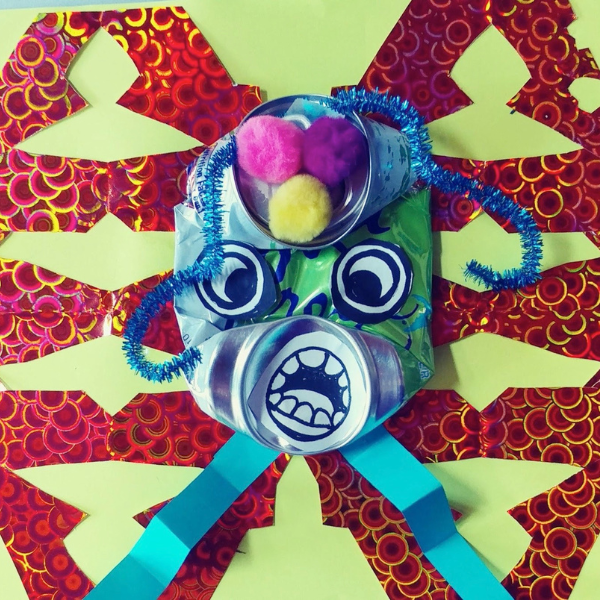
A can creature with pom poms, pipe cleaners, and paper cut into a wing shape.

Art Activity Video: Didier Triglia

Create a Didier Triglia inspired “Can Creature.”
Activity best for children age 3 and up

Today we are going to make a bas relief sculpture. Instead of the sculpture being able to stand on its own, we attach it to a background that lays behind our sculpture. French artist Didier Tiglier makes bas relief sculptures out of mashed cans most people would just recycle. His art comes from his imagination! He loves to create characters that have both human and animal features. We often describe other people by comparing them to animals; think of a person being sweet as a kitten, or sly as a fox.

Just like Didier Triglia, we will make a bas relief sculpture that has both animal and human parts to it. We’ll give them human expressions to show how they feel and will do this by cutting out and pasting different shapes of eyes and mouths to our soda can head.
MATERIALS

  • Assorted paper in different colors

  • Glue stick or white glue

  • Tape

  • Smashed soda can

  • Optional: Assorted craft supplies like pom poms and pipe cleaners

  • Optional: Printed templates of eyes and mouths

DIRECTIONS

STEP 1

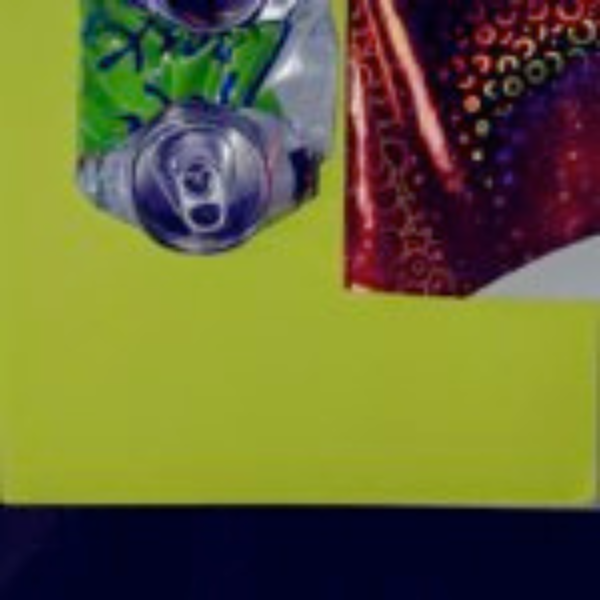
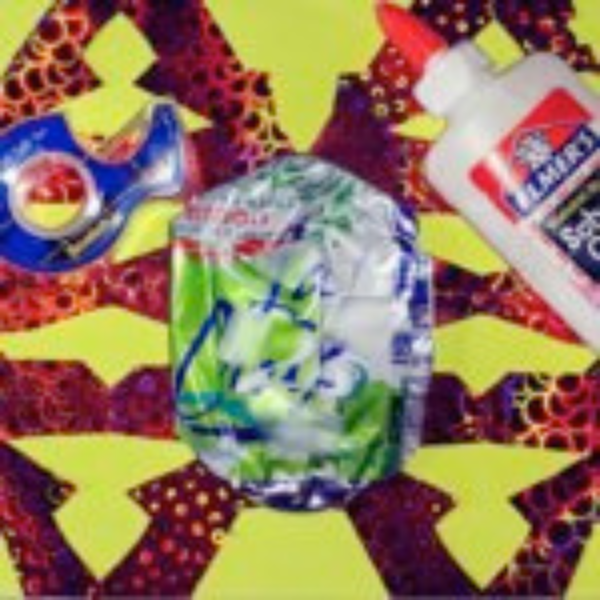
Pick your can and have someone step on it for you to “mash” it. Notice the colors and the shape of the can. Choose a background color for your monster creature. That is the paper that will hold down your bas relief sculpture. Then pick another colored piece of paper. This will be your foreground.

A smashed can on a green piece of paper with shimmery red paper.

STEP 2

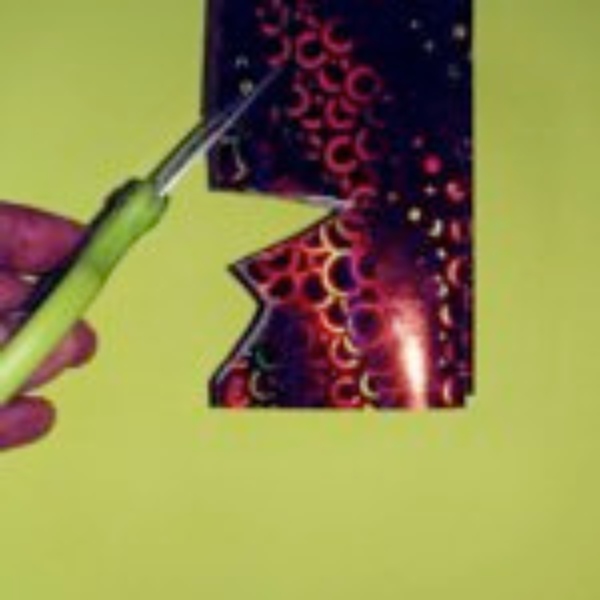
Fold your foreground paper in half two or three times. Then cut a few designs out on the sides.

Shimmery red paper with triangle cuts.

STEP 3

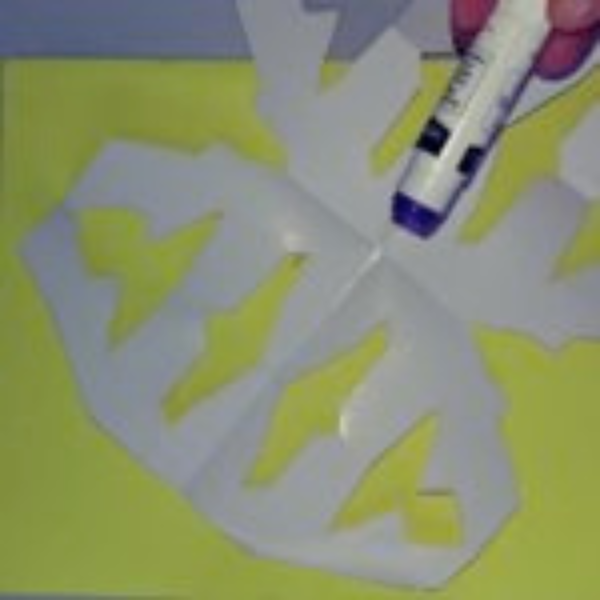
Glue your foreground paper to your background.

The shimmery cut paper flipped over with a glue stick.

STEP 4

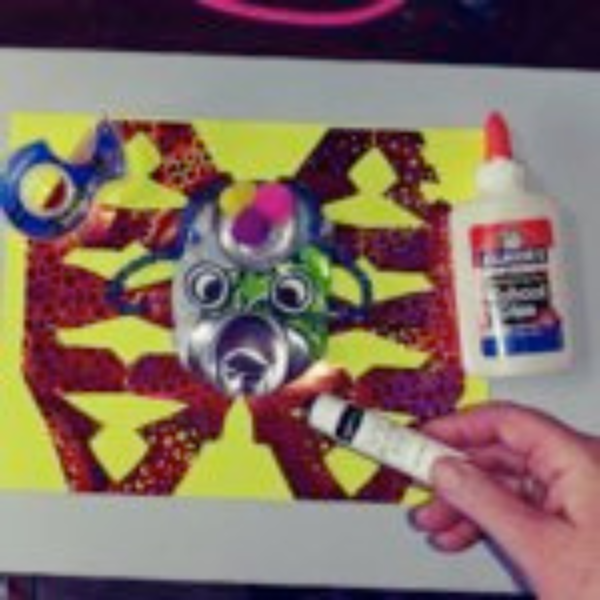
Decide where you’d like to place your can on your paper and then glue or tape it down.

A can taped and glued to the shimmery red paper.

STEP 5

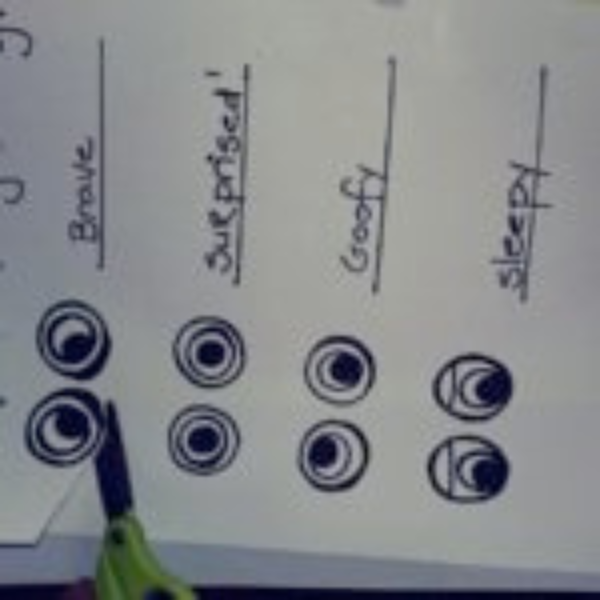
You have lots of choices to make about eyes and mouths! You can use the templates and cut them out and glue them to your creature. When you look at the eyes and mouths, what emotion do they remind you of? Are they happy, sad, or silly? You will put them together to make an expression. You can mix them any way you like or you can draw and cut out your own.

A paper with an eyeball template. There are four different sets of eyes.

STEP 6

Now that you have your background, foreground, and features to make an expression, you can finish your “Can Creature” with any craft materials you have around, such as recycled caps, buttons, or just draw directly on your background!

Finished can creature on neon yellow paper.

STEP 7

Give your “ Can Creature” a name and a silly story! This is “Minnie the Mean Monarch.” She yells at bees if they won’t give her nectar!

A can creature with pom poms, pipe cleaners, and paper cut into a wing shape.